In this lab, you'll configure two servers to send log data to a Splunk instance that resides on SERVER01. DC01 will need specified Windows event logs, including some AD information sent, and LINUX01 will need specific auth log files sent. All required IPs and credentials for this lab are listed below.
Lab Information
| Server | IP |
|---|---|
| DC01 | 172.31.115.100 |
| SERVER01 | 172.31.115.110 |
| LINUX01 | 172.31.115.111 |
| Location/Purpose | Username | Password |
|---|---|---|
| Domain Admin | ine\labadmin | K5+peE#5q+&WJ^c# |
| Linux Server | labadmin | TTnxyAn5=jRd3R |
Step 1 - Configure Splunk and SERVER01 to receive logs:
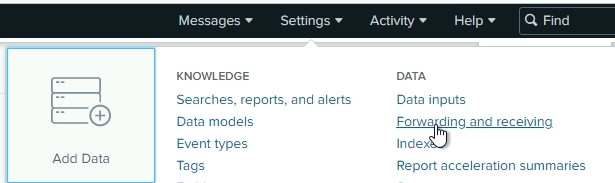
Open Splunk from the desktop and navigate to Settings, then Forwarding and receiving
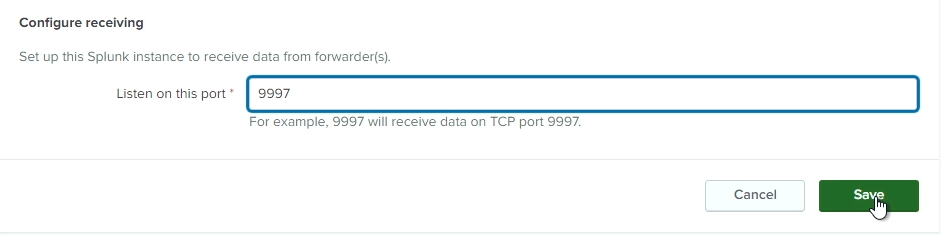
Click on Add new next to Configure receiving to add a new receiver. Enter port 9997 and click Save

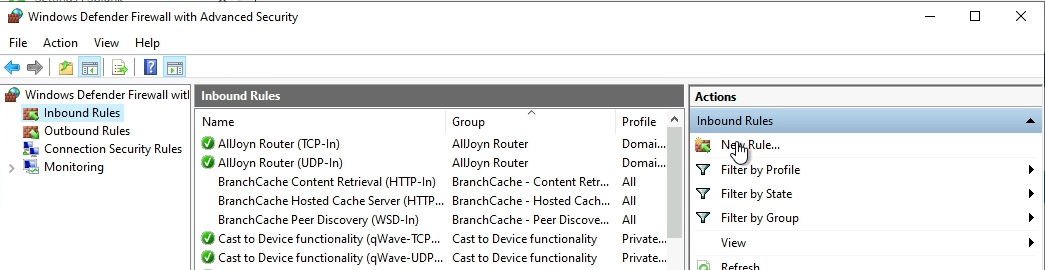
Next, open up Windows Firewall settings to allow traffic on port 9997 through the local firewall.
Go to inbound rules and create a new rule
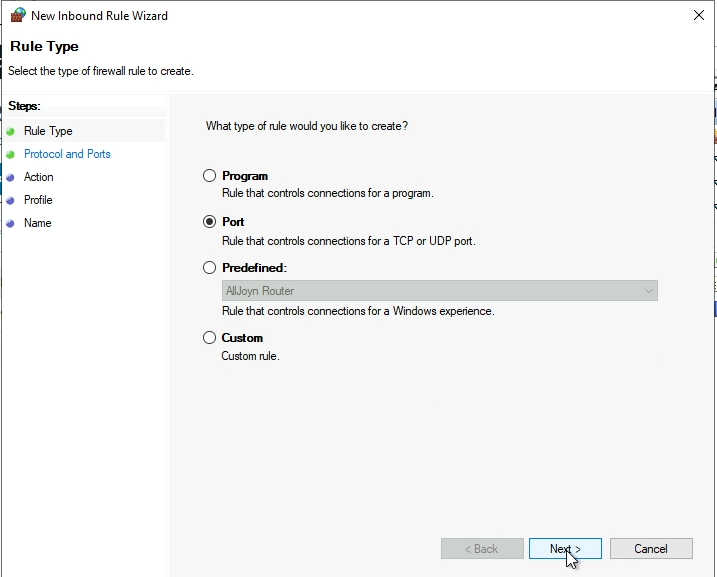
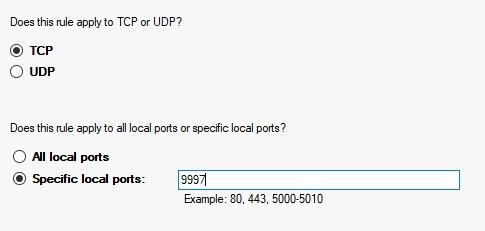
Choose the following options to create the rule: - Port - TCP, on port 9997 only - Allow the connection - Enable for all profiles - Name: Splunk Forwarder
Step 2 - Install and configure the Splunk Forwarder on DC01:
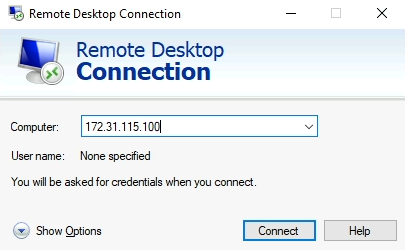
Open up RDP to connect to DC01. Use the Domain Admin credentials listed in the lab summary
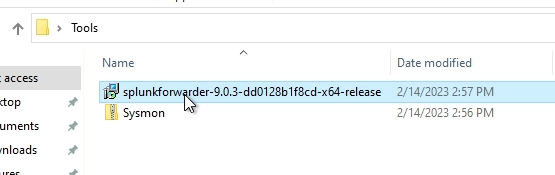
Open up the Tools folder on the desktop of DC01 and launch the Splunk Forwarder installer
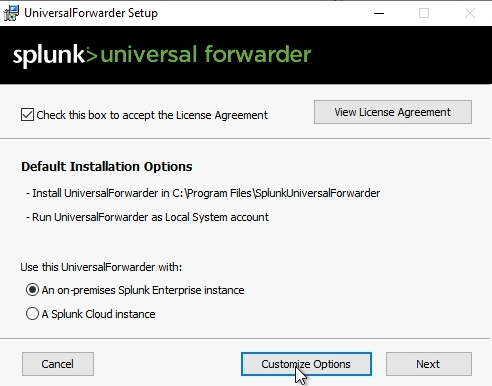
Check the box at the top to accept the license agreement, and ensure that An on-premises Splunk Enterprise instance is selected, then choose Customize Options
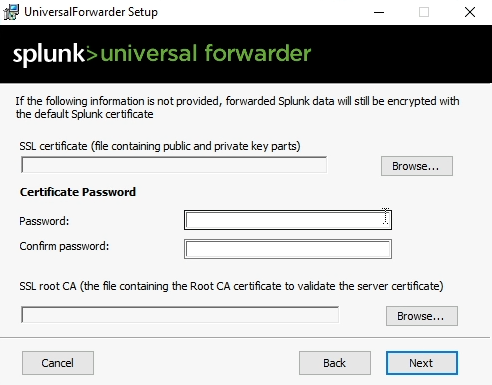
Accept the default installation location, and accept all the defaults on the SSL certificate screen
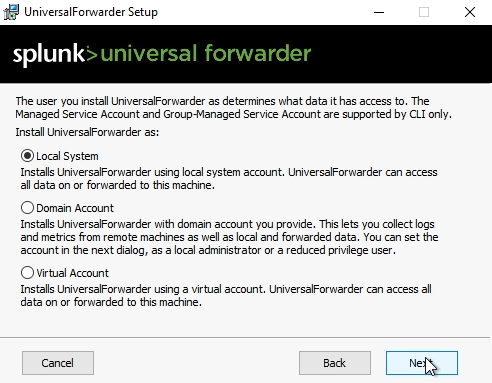
Ensure Local System is selected for the account that Splunk Forwarder will be installed as
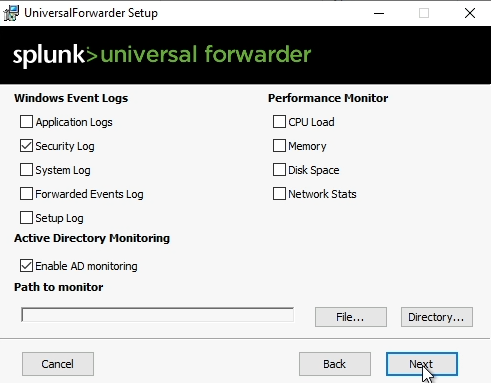
On the following screen, select Security Logs and Enable AD monitoring and choose Next
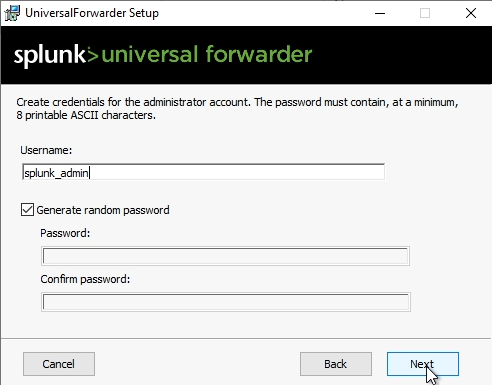
Enter a username for the Splunk administrator account, and then either enter a password or let the installer generate a random password
Leave the Deployment Server information empty
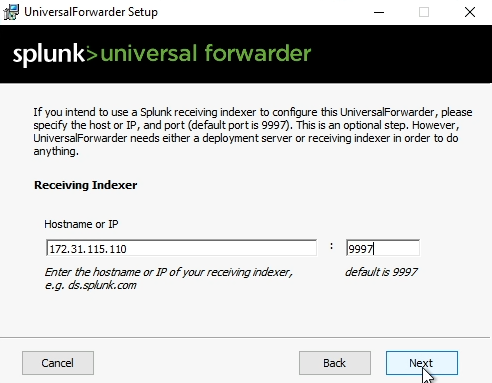
On the Receiving Indexer screen, enter the IP address for SERVER01, and the port that you previously configured for the receiver on Splunk (should be 9997)
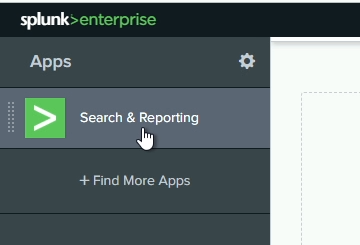
Return to SERVER01 (we're done on DC01 for now) and go back to Splunk. Click on Splunk>Enterprise at the top, and then choose Search & Reporting from the navigation bar
Enter the following search query in the search bar to verify you're receiving logs. Ensure you change the time frame on the right of the search bar to All time
index=* host=DC01
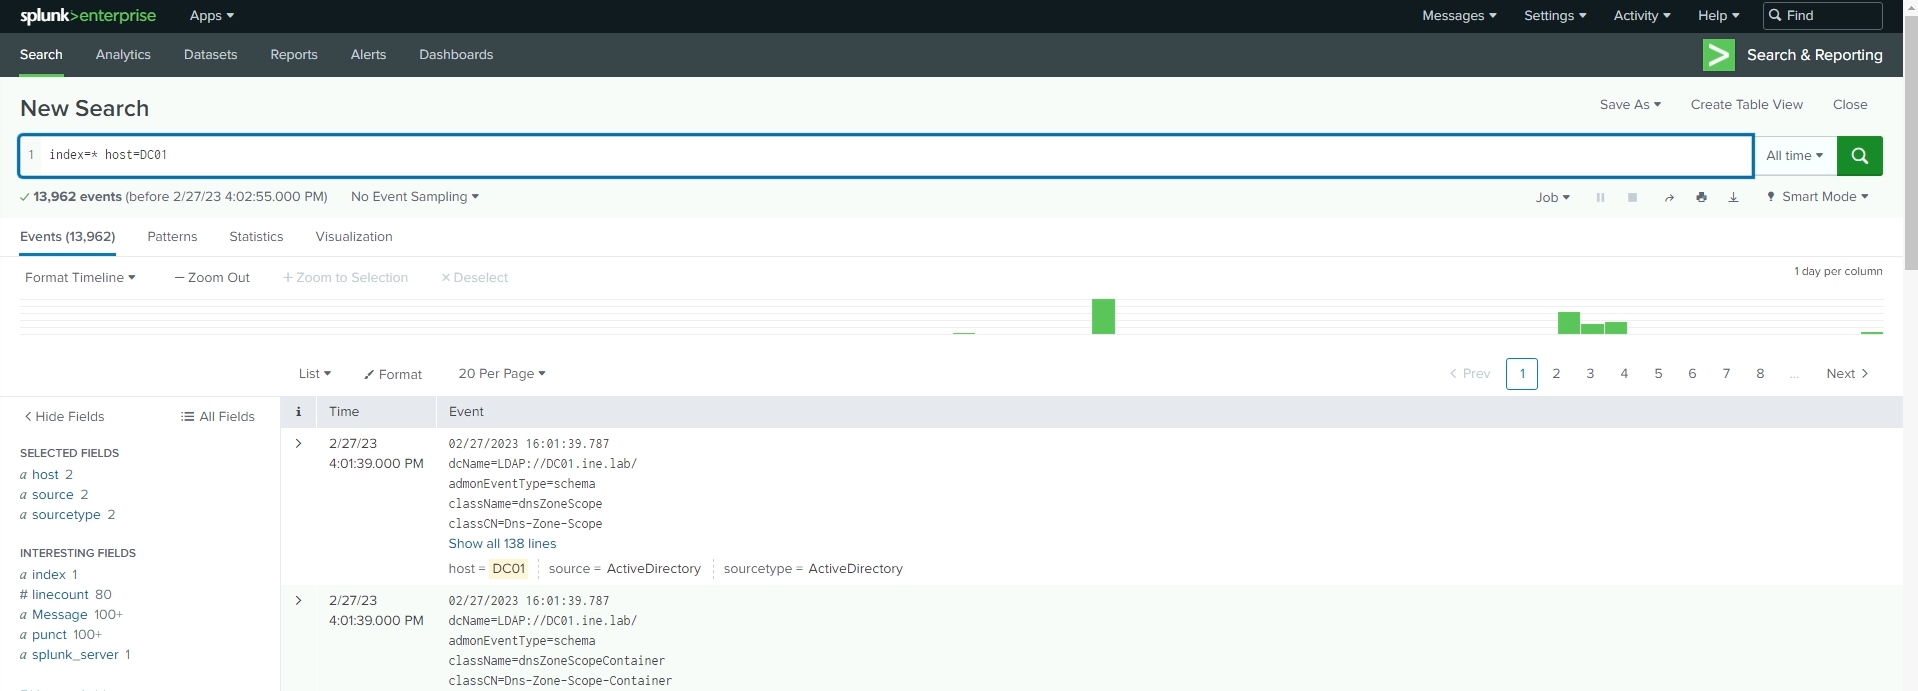
After a moment, you should see results returned. If you do not see any events after the search completes, go back and double check your configuration to ensure all settings are correct.
Step 3 - Install Splunk Forwarder on LINUX01 and configure to send logs to SERVER01:
Use Putty to SSH to the Linux server. Use the credentials for the Linux server listed in the lab information to connect.
Once connected via SSH, there are a few pre-requisites to complete before installing the forwarder:
sudo useradd -m splunkexport SPLUNK_HOME="/opt/splunkforwarder"sudo mkdir $SPLUNK_HOME
With the pre-requisites completed, we can install the forwarder now
sudo dpkg -i splunkforwarder-9.0.4-de405f4a7979-linux-2.6-amd64.deb
Now that the forwarder is installed, change the ownership of the folder to the user we created earlier:
sudo chown splunk:splunk $SPLUNK_HOME -RNow change directories into the $SPLUNK_HOME/bin directory. The rest of the commands will not work if this step is not completed
cd $SPLUNK_HOME/bin
Start the Splunk Forwarder (accepting the license agreement):
sudo ./splunk start --accept-license
You will be prompted to create a new administrator for this forwarder. Enter a username and password when prompted. You will need this information again in a moment
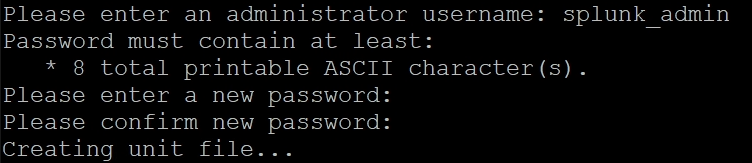
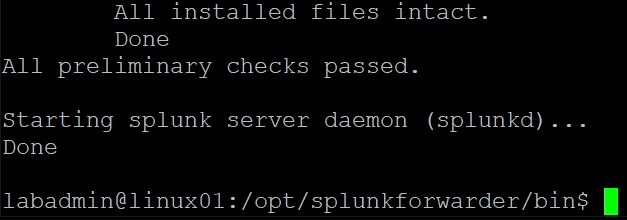
The fowarder will take a moment to start and then it will show it's completed startup:
Next, we need to tell Splunk where to send its logs. Enter the following command to configure the forwarding. Enter the username/password you just created when prompted.
sudo ./splunk add forward-server 172.31.115.110:9997
Next, we need to tell Splunk what logs to monitor. In our case, we need to monitor the file /var/log/auth.log. Use the following command to configure this. If done within a few minutes of the last command, you should not be prompted for the username again.
sudo ./splunk add monitor /var/log/auth.log
Now, for good measure, restart the Splunk Forwarder to ensure all the new settings are applied
sudo ./splunk restart
Once the restart is complete (should only take a few seconds), return to the Splunk search console and repeat our previous search, but replacing the host with linux01 this time.
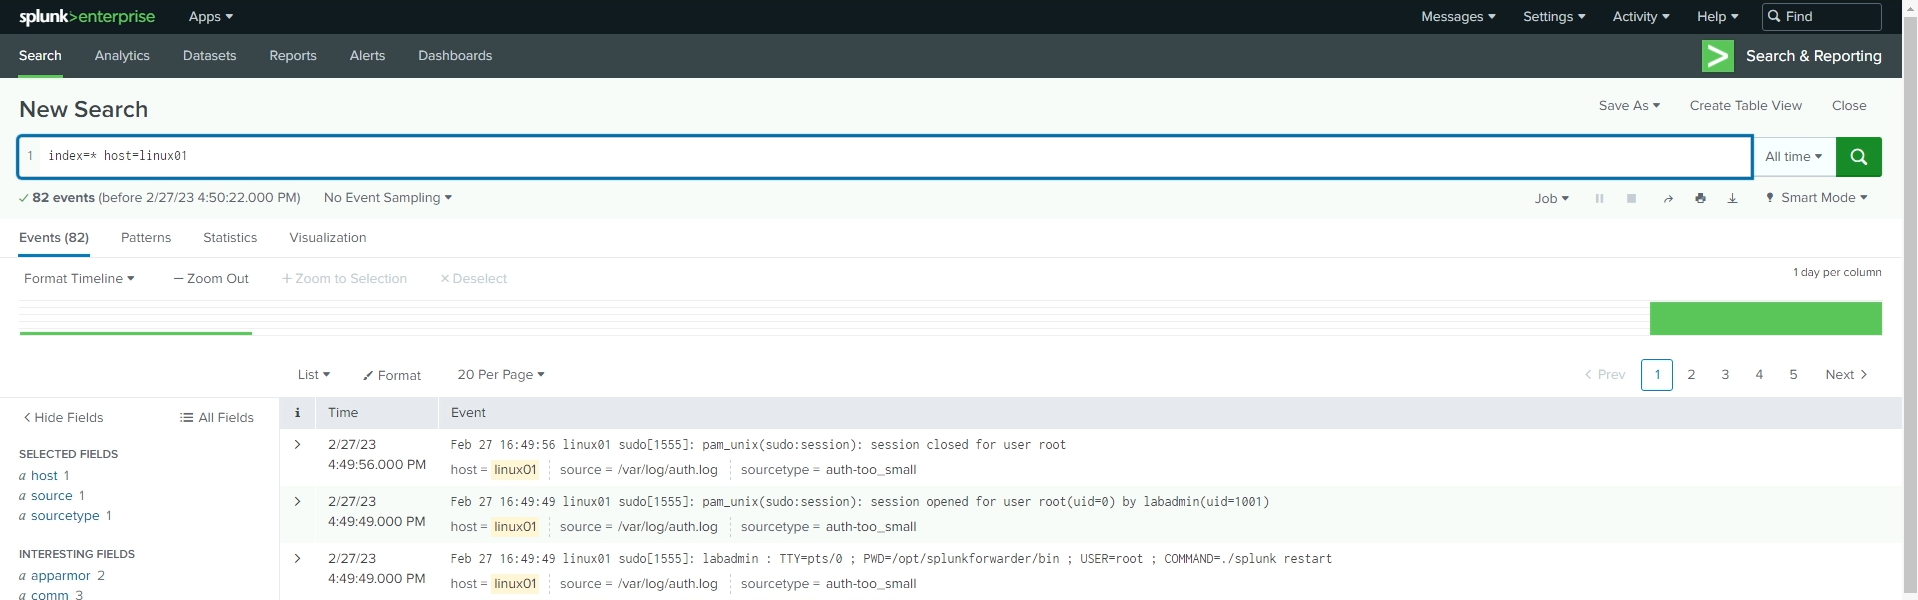
Now that we have all of the logs being sent to the Splunk server, feel free to perform various searches to see what type of data we are capturing.
We'll perform additional analysis on these logs (and more) in the Log Analysis lab.